Wedding Ready Beauty: Makeup
Wedding Ready Beauty: Makeup
Your makeup on your wedding day should be a reflection of who you are. Makeup is an enhancer and helps you veil any imperfections for that HD photography. But not all makeup is the same, for the same purposes, or for the same skin types
Below are some makeup tips and makeup videos to help you achieve that glowing bridal look for your big day.
The Canvas
You should always start with a smooth canvas, your skin! Makeup is an art. Makeup can only conceal so much and should only be used to enhance the naturally beautiful bride under it all.
I suggest taking care of your skin months in advance. You can look into some of my past post Wedding Ready Beauty: Skin.
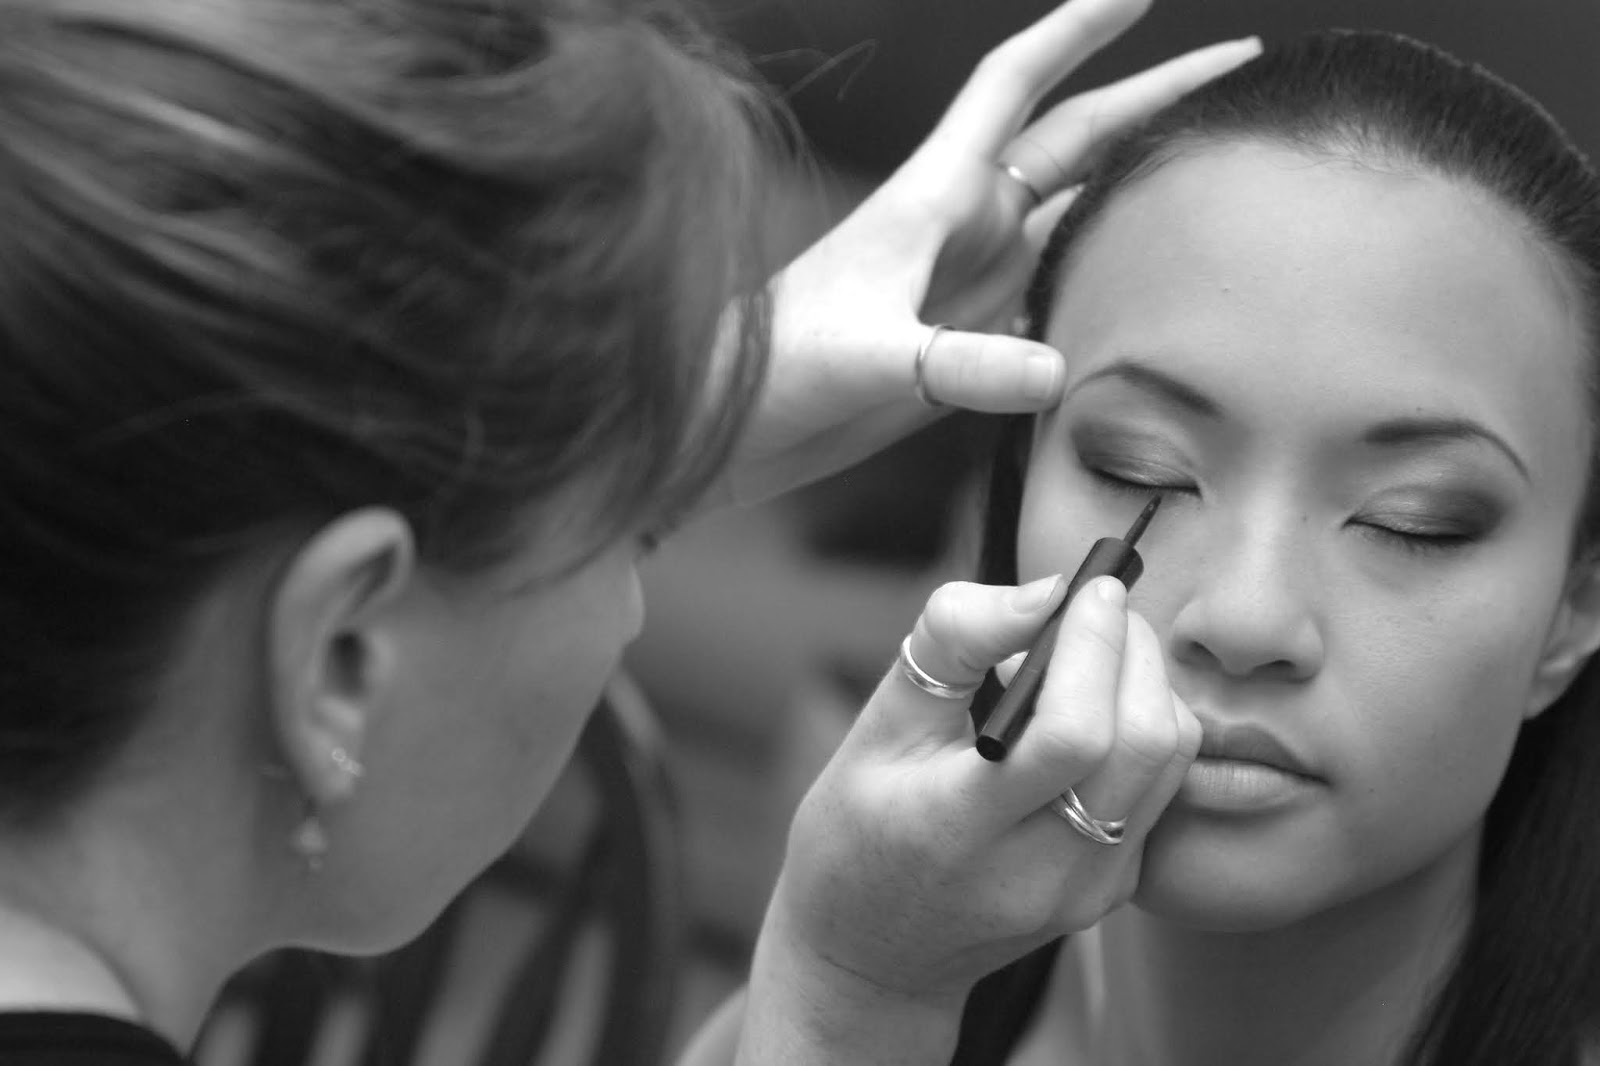
Trials
It's so important to try on your wedding look before your actual wedding; whether you will be having do your makeup or will be doing it yourself. I would recommend practicing more than once if you are doing your own makeup look and don't have much experience (in general with makeup or are trying a new thing on yourself).
I would avoid doing any experimenting the day of your wedding, so your trial(s) is the time to try anything new you may want to try.
Suggested Steps
Here are some suggested steps for your makeup routine.
- Moisturize: it's important that you have smooth and hydrated skin to ensure that the makeup application is smooth.
- Eyes: eyes should be next, so in case there's any fallout, you can clean it without having to retouch any of your face makeup.
- Prime: if you have oily eyelids it's recommended you use a primer.
- Eyeshadow: next is to apply your eyeshadow. You can go as natural or as dramatic as you'd like.
- Liner: eyeliner is next, framing the eyes. You can go dramatic with black gel, or softer using just some eyeshadow with a pencil liner brush.
- Mascara: this step is essential, whether you are using false lashes or not. It's important that you use waterproof, to ensure it stays on even after all the tears.
- Lashes: make sure you have eyelash glue! I would recommend individual lashes for a custom look.
- Face:
- Prime: try and find a primer that suits your skin type.
- Foundation: make sure your foundation color matches the rest of your body. Meaning, you don't want a head that is lighter or darker, making you look like a floating face. It's important to try the foundation time in advance to ensure it lasts all day and there's no oxidizing, smearing, or dry patches.
- Eyebrows: eyebrows really have no specific order to when to do them, but you should definitely practice beforehand to ensure natural looking brows. Remember, they are sisters (and maybe cousins), but not twins!
- Concealer: time to hide all imperfections! Use this under your eyes and on any specific troublesome points.
- Brighten/contour: this step is optional, for the bride that wants to look snatched. Make sure to blend and blend to make sure it looks as natural as possible.
- Setting Powder: set the places you applied concealer and any other cream products.
- Blush: this step is also optional, but recommended. Add back some color into your face. The goal is to look flushed as if you just got done with some exercise.
- Highlight: try and look for a highlight that looks natural and blends into your skin. Unless you are looking for that beaming look.
- Lips: it's important to line and apply lipstick carefully. You can also look for tutorials on how to make your lipstick last longer. Make to have someone carry these for reapplication throughout the day.
- Setting Spray: time to lock it all in and prevent as much smearing as possible. There are some setting sprays that targeting specific skin types or skin finishes.
Whatever order or way that you choose to do your makeup in, it's important to try the application, products, longevity, and reaction your skin has to them.
Tutorial examples
Below are some tutorial examples targeting specific tips for your bridal makeup look. Remember that all these looks can be customizable: you can change the color or product (depending if you are able to find a cheaper one, or you already have a similar product) or, you can add more drama or go more natural (depending on the style that you are going for).
Here is a video with tips for an easy application, with a pretty affordable makeup tools brand. I would recommend to buy the brushes when they are on sale at stores (usually BOGO).
Here is a video with tips for an easy application, with a pretty affordable makeup tools brand. I would recommend to buy the brushes when they are on sale at stores (usually BOGO).
Here's a soft glam make-up tutorial. You are still able to see the model's beauty (as it highlights her features, like her eyes), although the make-up is a bit more full coverage.
This is a very natural makeup tutorial. This could be applied to any skin tone and it truly highlights a bride's natural beauty.
This tutorial are for the brides that love the drama! Even if you don't like too much drama, you can use some of the products here, since they are more affordable products.
Below is a beautiful soft-glam and romantic look for brides with darker skin.
Final but not least, here is a makeup look for Latina's. Desi's look is soft and highlighting the bride's natural beauty while adding some soft romantic touches.
Below is an example of the hundreds of videos out there, where beauty gurus share more affordable makeup products and tools duplicates ($) for more expensive "high-end" products and tools ($$-$$$).
I hope you liked this post & leave a comment! Check out my other posts!


Amazing tips!
ReplyDeleteGreat tips! I recommend taking pictures during your practice runs on a DSLR camera to see how it appears (artificial and natural light). Sometimes you’ll need more than usual for it to come out in pictures. Also a bit of bronzer to frame the face and define the neck, jaw and cheek bones goes a long way.
ReplyDelete